안녕하세요 코랩에서 stable diffusuion으로 이미지를 생성해보겠습니다.
* task : img to img
테스트를 위한 코랩사용법을 선행하시고 글을 읽어주세요.
또한 더 간단한 이미지생성을 원하시면 txt2img 테스크인 세 번째 포스팅 글을 참고해주세요
https://stickode.tistory.com/682
https://stickode.tistory.com/684
https://stickode.tistory.com/947
[Python] Colab을 사용하는 법 & 구글 드라이브 연동하기
안녕하세요! 오늘은 colab 사용법과 구글드라이브 연동 예제를 진행하겠습니다. Colab 이란? colab은 정식명칭인 colaboratory의 줄인말로 구글 리서치팀에서 개발하고 운영하고 Jupyter notebook 위에서 동
stickode.tistory.com
[Python] Google Colab 에서 stable_diffusion 2 사용하기
안녕하세요. 오늘은 Google Colab 에서 huggingface의 Diffusers 라이브러리를 사용하여 stable diffusion 2를 간단하게 사용해보겠습니다. 출처 : https://huggingface.co/stabilityai/stable-diffusion-2 1. huggingface 에서 필요
stickode.tistory.com
* 코랩 주소 : https://colab.research.google.com/drive/1fpsswsrS3wqnocv5beR6ZvXfr0rMZGch
6초생성.ipynb
Colaboratory notebook
colab.research.google.com
해당 코랩주소를 참고해주세요.
만약 추후 주소가 유효하지 않다면 아래에 옮겨둔 코드를 실행해주세요.
그럼 코랩에서 이미지 url을 통해 이미지를 생성해보겠습니다.
코랩에서 차례차례 실행시키면 됩니다. (1장 생성하는데 대략 6초가 소요됩니다)
#1
from google.colab import drive
drive.mount('/content/drive')
#2
#3
! pip install --ignore-installed Pillow==9.0.0
! pip uninstall -y numpy
! pip uninstall -y setuptools
! pip install setuptools
! pip install numpy
#4
! pip install -qq -U transformers ftfy
! pip install -qq "ipywidgets>=7,<8"
#5
from torch import autocast
import torch
import requests
from PIL import Image # Pillow라고 불리우는 이미지처리 라이브러리
from io import BytesIO
from diffusers import StableDiffusionImg2ImgPipeline
#6
!pip install transformers
#7
repo_id = "digiplay/EtherBluMix_1" # 넣고싶은 모델을 미리 드라이브에 저장해두고 불러옵니다.
# 바로 huggingface에서 불러와도 됩니다.
# 해당 명령어를 참고해주세요
token = "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" # 본인 토큰을 넣어주세요
# load the pipeline
pipe = StableDiffusionImg2ImgPipeline.from_pretrained(
repo_id,
use_auth_token=token,
torch_dtype=torch.float16
).to("cuda")
#8
# let's download an initial image
# url에 본인이 넣고싶은 이미지주소를 넣어주세요.
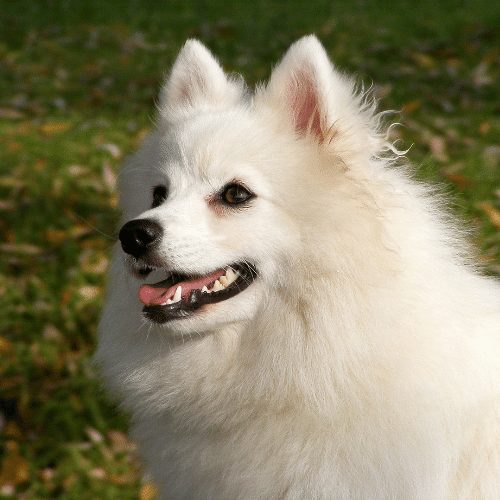
dog_list = [
{
"dog": "Japanese Spitz",
"prompt_sp": ",Japanese Spitz, white hair, triangular ears,",
},
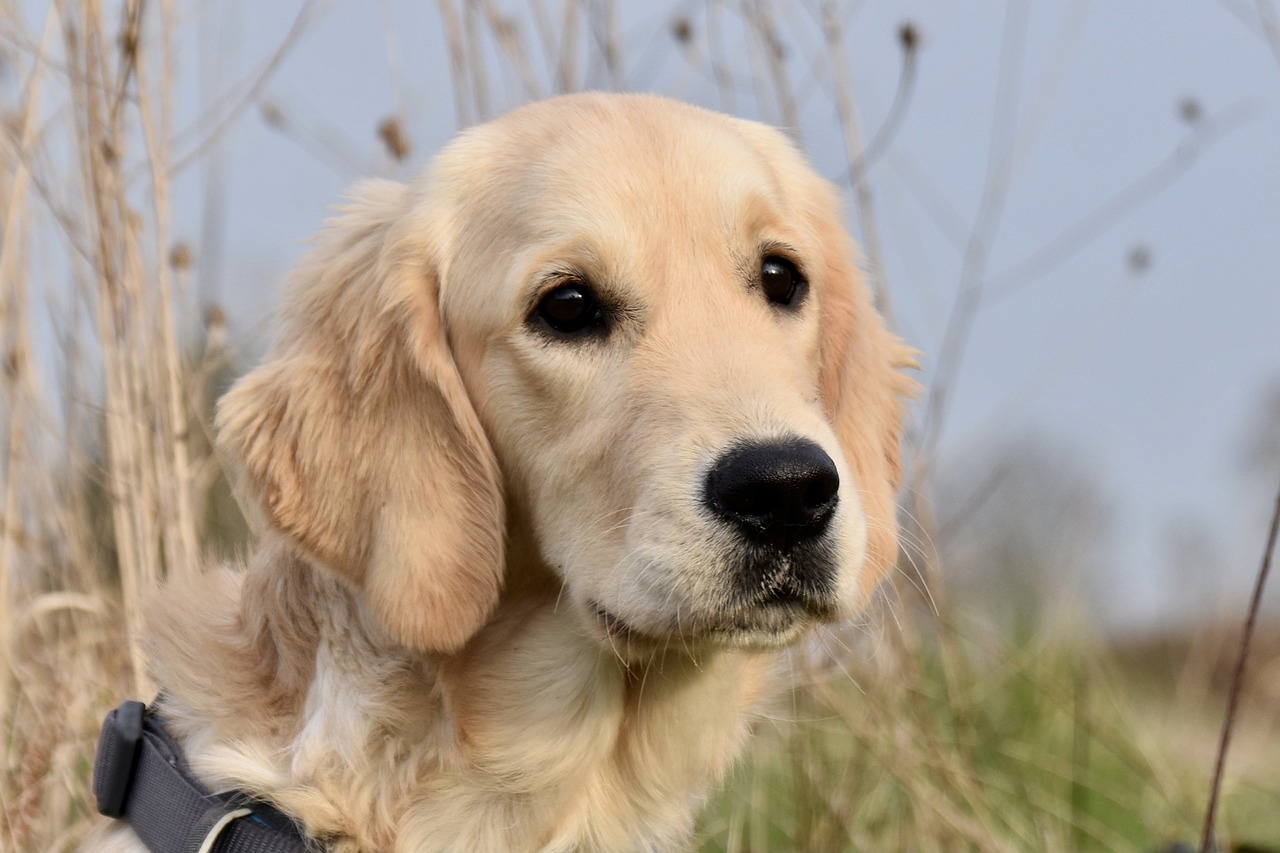
{
"dog": "Golden Retriever",
"prompt_sp": "",
}
]
#9
import os
output_directory = "/content/drive/MyDrive/img2img_output" #본인 드라이브 출력물 저장 위치
os.makedirs(output_directory, exist_ok=True)
n_prompt = "human, girl, man, dick, cat, multi ears, organs, crazy" #네거티브 프롬프트
batch_count = 2 #장수
scale = 7
strength = 0.8
#10
for dog_data in dog_list[0:]:
print(f"# {dog_list.index(dog_data) + 1} {dog_data['dog']}")
response = requests.get(f"{dog_data['url']}")
init_image = Image.open(BytesIO(response.content)).convert("RGB")
init_image = init_image.resize((512, 512))
# img뿐만 아니라 txt프롬프트도 입력 가능
prompt = f"{dog_data['dog']}, {dog_data['prompt_sp']}, high quality, 1dog, outdoors, open mouth, no humans, cloud, day, sky, animal focus, animal, contrail, smile, solo, red bow, bow, bird, sitting, tail"
for i in range(batch_count):
repo_id = "test10_icbinp" # 파일명 정하기
print(f"{repo_id}_{dog_list.index(dog_data) + 1}_{dog_data['dog']}_{i}.png")
with autocast("cuda"):
images = pipe(prompt, init_image).images[0]
image_path = os.path.join(output_directory, f"{repo_id}_{dog_list.index(dog_data) + 1}_{dog_data['dog']}_{i}.png")
images.save(image_path)
images
 사진 생성 완료
사진이 생성되면 해당 위치에 저장되었음을 알려줍니다.
이상으로 코랩환경에서 img2img 이미지생성 예시였습니다.