728x90
안녕하세요 huggingface API를 통해 인공지능으로 생성한 이미지를 서버에 저장해보겠습니다.
* 테스크 : text to image
* 모델 : dreamshaper-v6
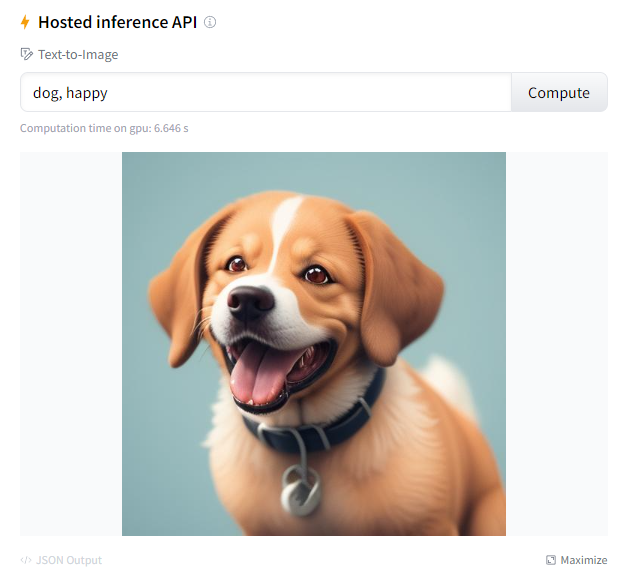
* 예상 결과물 테스트 방법
: https://huggingface.co/stablediffusionapi/dreamshaper-v6 에서 prompt를 입력해서 compute를 클릭하세요.

실행환경은 다음 글을 참고해주세요
https://stickode.tistory.com/903
[Python] Flask 를 이용해 웹 서버 실행시키기
Flask 란? 파이썬으로 웹 페이지를 만들 수 있게 해주는 웹 프레임워크입니다. 보통 백엔드의 역할을 주로 수행하게 되는데요 저는 주피터 노트북에서 작성한 인공지능 모델을가지고 간단한 api
stickode.tistory.com
huggingface에서 제공한 API 코드 가이드
import requests

API_URL = "https://api-inference.huggingface.co/models/stablediffusionapi/dreamshaper-v6"
headers = {"Authorization": f"Bearer {API_TOKEN}"}

def query(payload):
	response = requests.post(API_URL, headers=headers, json=payload)
	return response.content
image_bytes = query({
	"inputs": "Astronaut riding a horse",
})
# You can access the image with PIL.Image for example
import io
from PIL import Image
image = Image.open(io.BytesIO(image_bytes))
실제 예제
@app.get('/api/letter/{prompt}') # 라우팅할 경로를 설정해주세요
print("prompt :"+prompt)
# 허깅페이스 변수
headers = {"Authorization": "Bearer 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"}
object_key_name = str(uuid.uuid4()) + '.jpg' # 랜덤이름
# 허깅페이스에 해당 모델에 프롬프트(text)를 전달하면 이미지를 리턴받는다.
def query(payload):
response = requests.post(API_URL, headers=headers, json=payload)
return response.content
# 프롬프트 (text)
image_bytes = query({
"inputs": prompt, # 예시) "black poodle, space, ball"
})
# 바이트이미지 -> 이미지객체
image = Image.open(io.BytesIO(image_bytes))
# 이미지객체 -> 파일객체
temp_file = '/home/ai/ai_dev_api/images/'+object_key_name+'.jpg' # 이미지를 저장할 경로 설정
image.save(temp_file)
return object_key_name
필요한 모듈은 huggingface 가이드를 참고해주세요.
'Python' 카테고리의 다른 글
| [Python] 업비트 API로 실시간 비트코인 거래 데이터 수신하기 (0) | 2024.01.27 |
|---|---|
| [Python] Pillow 라이브러리로 이미지 처리하기 (2) | 2023.12.03 |
| [Python] 구글 speech to text api를 사용해 긴 텍스트를 오디오 파일로 변환하고 웹 브라우저에서 재생하기 (0) | 2023.08.25 |
| [Python] Flask 를 이용해 웹 서버 실행시키기 (0) | 2023.08.24 |
| [Python] OpenCV로 특정 색을 인식하기 (0) | 2023.08.15 |


