728x90
이번 시간에는 가로형 리싸이클러뷰 기능을 구현해보겠습니다.
스틱코드 (stickode.com/mainlogin.html)
두 개의 java파일과 두 개의 xml 파일을 만들면
아래 예제를 따라서 리싸이클러뷰를 만들 수 있습니다.
우선 새로운 프로젝트에서 Empty Activity를 만드세요.
예제에서 프로젝트 제목은 recyclerview_horizontal 로 하였습니다.
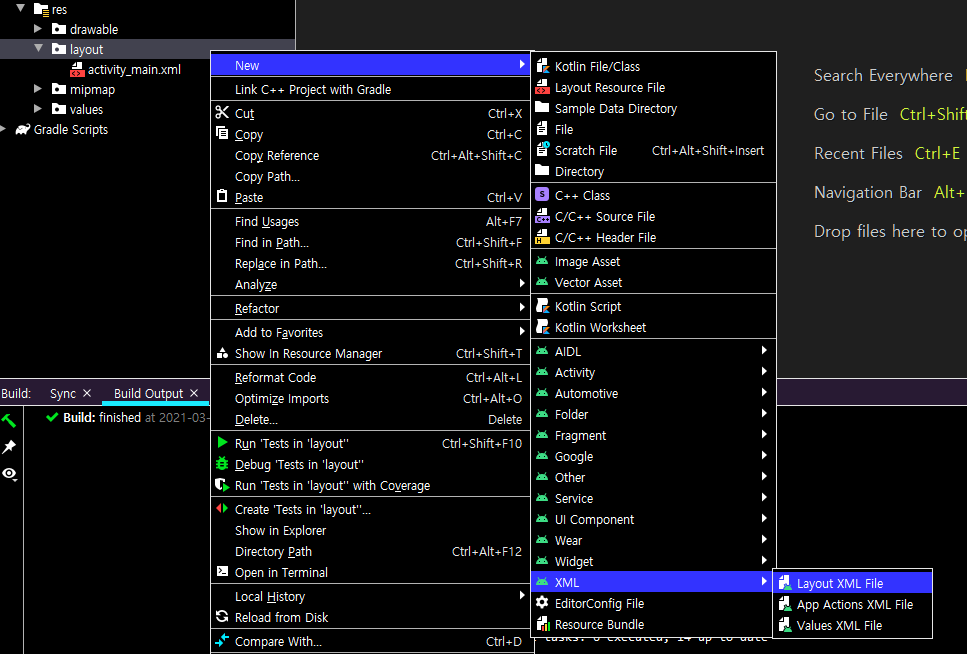
그리고 아래 사진처럼 TestAdapter01.java 파일을 새롭게 만들어보세요

마찬가지로 recyclerview_item.xml 파일도 만들어보세요.
그럼 이제 4개의 파일에 들어갈 코드들을 스틱코드에서 쉽게 가져와봅시다
그러기 위해서는 해당 코드들을 ‘즐겨찾기’ 해서 언제나 가져올 수 있도록 하면 됩니다.
즐겨찾기는 스틱코드 홈페이지에서
해당 코드 포스팅 맨 아래 ‘즐겨찾기 버튼’을 누르시면 됩니다.

스틱코드 (RecyclerView 가로로 만들기)
https://stickode.com/detail.html?no=2047
1. MainActivity.java 파일 불러오기

public class MainActivity extends AppCompatActivity {

    @Override
    protected void onCreate(Bundle savedInstanceState) {
        super.onCreate(savedInstanceState);
        setContentView(R.layout.activity_main);


        ArrayList<String> list = new ArrayList<>();

        for (int i=0; i<100; i++) {
            list.add(String.format("come on %d", i)) ;
        }

        // 리사이클러뷰에 LinearLayoutManager 객체 지정.
        RecyclerView recyclerView = findViewById(R.id.recycler1) ;
        recyclerView.setLayoutManager(new LinearLayoutManager(this, LinearLayoutManager.HORIZONTAL, false)) ;

        // 리사이클러뷰에 TestAdapter01 객체 지정.
        TestAdapter01 adapter = new TestAdapter01(list) ;
        recyclerView.setAdapter(adapter) ;
    }


}
2. TestAdapter01.java 파일 불러오기

public class TestAdapter01 extends RecyclerView.Adapter<TestAdapter01.ViewHolder> {

    private ArrayList<String> mData = null ;

    public class ViewHolder extends RecyclerView.ViewHolder {

        TextView textView1 ;

        ViewHolder(View itemView) {
            super(itemView);

            textView1 = itemView.findViewById(R.id.text1);
        }
    }

    TestAdapter01(ArrayList<String> list){
        mData = list;
    }

    @NonNull
    @Override
    public TestAdapter01.ViewHolder onCreateViewHolder(@NonNull ViewGroup parent, int viewType) {
        Context context = parent.getContext() ;
        LayoutInflater inflater = (LayoutInflater) context.getSystemService(Context.LAYOUT_INFLATER_SERVICE) ;

        View view = inflater.inflate(R.layout.recyclerview_item, parent, false) ;
        TestAdapter01.ViewHolder vh = new TestAdapter01.ViewHolder(view) ;
        return vh;
    }

    @Override
    public void onBindViewHolder(@NonNull TestAdapter01.ViewHolder holder, int position) {
        String text = mData.get(position) ;
        holder.textView1.setText(text) ;

    }

    @Override
    public int getItemCount() {
        return mData.size() ;
    }


}
3. activity_main.xml 파일 불러오기

<?xml version="1.0" encoding="utf-8"?>
<androidx.constraintlayout.widget.ConstraintLayout xmlns:android="http://schemas.android.com/apk/res/android"
    xmlns:app="http://schemas.android.com/apk/res-auto"
    xmlns:tools="http://schemas.android.com/tools"
    android:layout_width="match_parent"
    android:layout_height="match_parent"
    tools:context=".MainActivity">

    <androidx.recyclerview.widget.RecyclerView
        android:id="@+id/recycler1"
        android:layout_width="340dp"
        android:layout_height="342dp"
        android:layout_marginTop="120dp"
        app:layout_constraintEnd_toEndOf="parent"
        app:layout_constraintStart_toStartOf="parent"
        app:layout_constraintTop_toTopOf="parent" />
</androidx.constraintlayout.widget.ConstraintLayout>
4. recyclerview_item.xml 파일 불러오기

<?xml version="1.0" encoding="utf-8"?>
<androidx.constraintlayout.widget.ConstraintLayout
    xmlns:android="http://schemas.android.com/apk/res/android"
    xmlns:app="http://schemas.android.com/apk/res-auto"
    xmlns:tools="http://schemas.android.com/tools"
    android:layout_width="match_parent"
    android:layout_height="match_parent">

    <TextView
        android:id="@+id/text1"
        android:layout_width="match_parent"
        android:layout_height="wrap_content"
        android:layout_marginStart="52dp"
        android:text="text1"
        android:textSize="70px"

        app:layout_constraintBottom_toBottomOf="parent"
        app:layout_constraintStart_toStartOf="parent"
        app:layout_constraintTop_toTopOf="parent"
        app:layout_constraintVertical_bias="0.169" />

</androidx.constraintlayout.widget.ConstraintLayout>
결과1
화면에 나오는 'come on 0' 텍스트를 왼쪽으로 드래그해서 넘기면 'come on 99' 까지 다른 아이템이 나오는 것을 확인 할 수 있습니다.

Grid 레이아웃으로 변경하고 싶으시면
MainActivity.java에서 아래와 같이 수정해주세요.
RecyclerView recyclerView = findViewById(R.id.recycler1) ;
recyclerView.setLayoutManager(new GridLayoutManager(this, 2)) ;
결과2

'안드로이드 자바' 카테고리의 다른 글
| [Java][Android] 다크모드 구현하기 (2) | 2021.04.22 |
|---|---|
| [JAVA][Android] 만보계를 만들어 보자 (8) | 2021.04.21 |
| [Java][Android] Floating Action Menu 만들기 (3) | 2021.04.18 |
| [Java][Android] SeekBar 시크바 기본 사용법 (2) | 2021.04.14 |
| [Java][Android] JSON 데이터 사용해보기 (0) | 2021.04.13 |


