728x90
스레드를 활용해 움직이는 애니메이션을 만들어 보겠습니다.

스틱코드에서 소스를 다운받아주세요!
https://stickode.com/detail.html?no=2534
스틱코드
stickode.com
스레드는 하나의 프로세스 안에서 동시에 수행되어야 하는 작업을 위해 사용합니다.
먼저 XML파일을 만들어 줍니다.
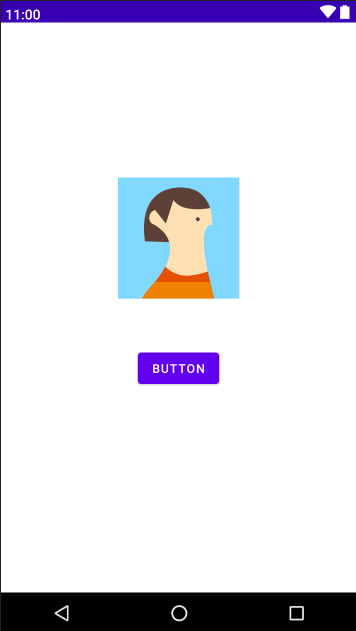
하트 이미지가 들어갈 imageview영역과 버튼을 한개씩 만들겠습니다.

<?xml version="1.0" encoding="utf-8"?>
<androidx.constraintlayout.widget.ConstraintLayout xmlns:android="http://schemas.android.com/apk/res/android"
    xmlns:app="http://schemas.android.com/apk/res-auto"
    xmlns:tools="http://schemas.android.com/tools"
    android:layout_width="match_parent"
    android:layout_height="match_parent"
    tools:context=".cookStargram.AnimationActivity">

    <Button
        android:id="@+id/button"
        android:layout_width="wrap_content"
        android:layout_height="wrap_content"
        android:layout_marginStart="160dp"
        android:layout_marginLeft="160dp"
        android:layout_marginTop="48dp"
        android:layout_marginEnd="160dp"
        android:layout_marginRight="160dp"
        android:layout_marginBottom="155dp"
        android:text="Button"
        app:layout_constraintBottom_toBottomOf="parent"
        app:layout_constraintEnd_toEndOf="parent"
        app:layout_constraintHorizontal_bias="0.666"
        app:layout_constraintStart_toStartOf="parent"
        app:layout_constraintTop_toBottomOf="@+id/imageView"
        app:layout_constraintVertical_bias="0.0" />

    <ImageView
        android:id="@+id/imageView"
        android:layout_width="140dp"
        android:layout_height="157dp"
        app:layout_constraintBottom_toBottomOf="parent"
        app:layout_constraintEnd_toEndOf="parent"
        app:layout_constraintHorizontal_bias="0.498"
        app:layout_constraintStart_toStartOf="parent"
        app:layout_constraintTop_toTopOf="parent"
        app:layout_constraintVertical_bias="0.34"
        tools:srcCompat="@tools:sample/avatars" />
</androidx.constraintlayout.widget.ConstraintLayout>
다음으로 애니메이션 액티비티를 생성해 줍니다.
< AnimationActivity.java >
스레드는 new연산자로 객체를 생성하고, start메서드를 호출하면 실행됩니다.
package com.example.myapplication.cookStargram;

import android.annotation.SuppressLint;
import android.widget.Button;

import androidx.appcompat.app.AppCompatActivity;

import android.content.res.Resources;
import android.graphics.drawable.Drawable;
import android.os.Bundle;
import android.os.Handler;
import android.view.View;
import android.widget.ImageView;

import com.example.myapplication.R;

import java.util.ArrayList;

public class AnimationActivity extends AppCompatActivity {

    ImageView imageView;

    ArrayList<Drawable> drawableList = new ArrayList<Drawable>();
    Handler handler = new Handler();

    @SuppressLint("UseCompatLoadingForDrawables")
    @Override
    protected void onCreate(Bundle savedInstanceState) {
        super.onCreate(savedInstanceState);
        setContentView(R.layout.activity_animation);

        // 움직이는 이미지 소스
        Resources res = getResources();
        drawableList.add(res.getDrawable(R.drawable.ic_heart_off));
        drawableList.add(res.getDrawable(R.drawable.ic_heart_on));
        drawableList.add(res.getDrawable(R.drawable.ic_heart_off));
        drawableList.add(res.getDrawable(R.drawable.ic_heart_on));

        imageView = findViewById(R.id.imageView);
        Button button = (Button) findViewById(R.id.button);

        // 움직이는 애니메이션을 만들기위한 쓰레드
        button.setOnClickListener(new View.OnClickListener() {
            @Override
            public void onClick(View v) {
                AnimThread thread = new AnimThread();
                thread.start();
            }
        });
    }

    class AnimThread extends Thread {
        public void run() {
            int index = 0;
            for (int i = 0; i < 100; i++) {
                final Drawable drawable = drawableList.get(index);
                index += 1;
                if (index > 3) {
                    index = 0;
                }
                handler.post(new Runnable() {
                    @Override
                    public void run() {
                        imageView.setImageDrawable(drawable);
                    }
                });
                try {
                    Thread.sleep(1000);
                } catch (Exception e) {
                    e.printStackTrace();
                }
            }
        }
    }


}
이미지소스는 res -> Drawble폴더안에 넣어줍니다.
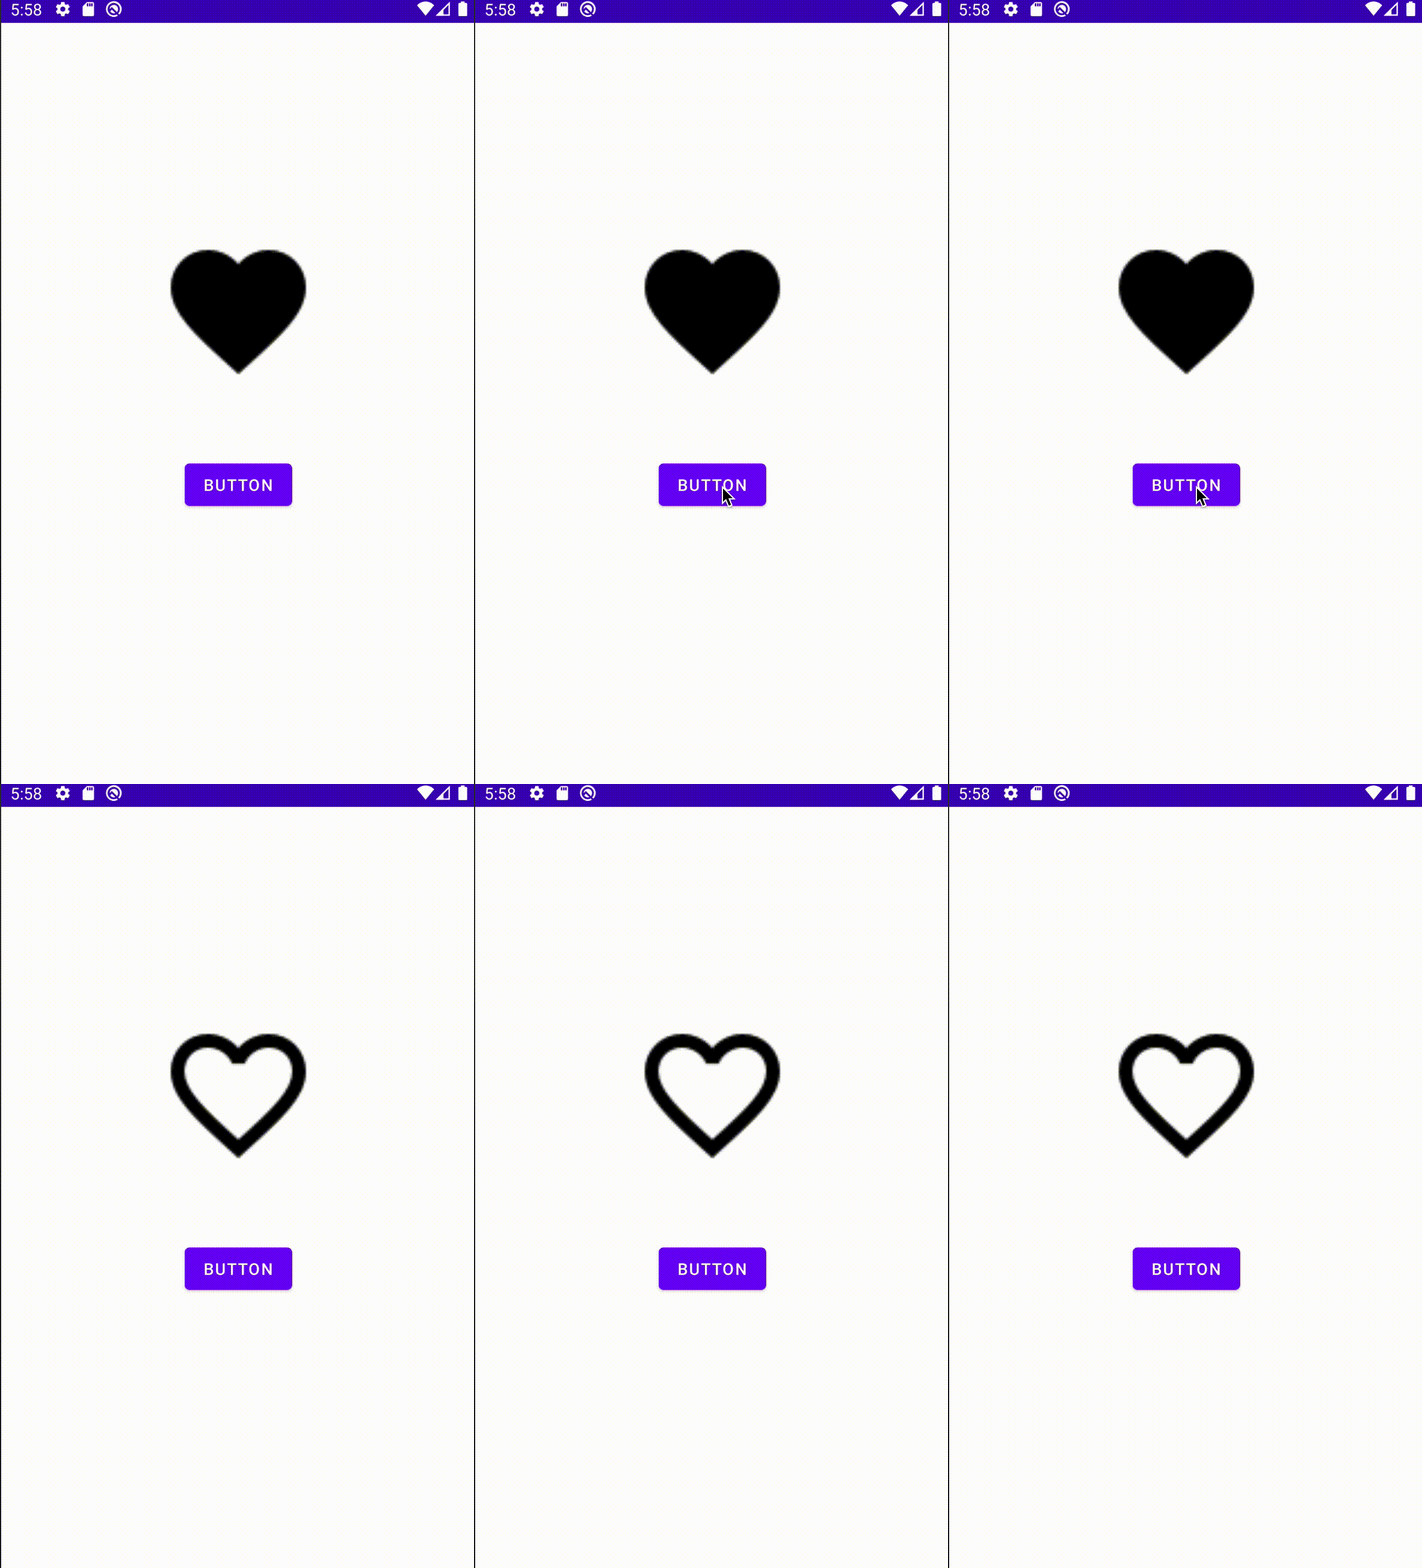
하트의 깜박거림을 표현하기 위해서, 빈 하트 이미지와, 꽉채워진 하트이미지를 넣어주었습니다.


결과화면
버튼을 누르면 움직이는 하트가 움직이는 것을 확인할수 있습니다.

스틱코드에서 소스를 다운받아 사용해보세요!
https://stickode.com/detail.html?no=2534
스틱코드
stickode.com
'안드로이드 자바' 카테고리의 다른 글
| [JAVA][Android] 안드로이드 - 스낵바(snackbar) (0) | 2021.10.20 |
|---|---|
| [JAVA][Android] Messenger를 통해 Service 인터페이스 생성 (0) | 2021.10.17 |
| [JAVA][Android] Option Menu 만들기 (0) | 2021.10.15 |
| [JAVA][Android] Loding 프로그레스바 만들기 (0) | 2021.10.14 |
| [JAVA][Android] 키보드에 검색버튼 구현하기 (0) | 2021.10.14 |


