728x90
안드로이드 개발을 하다 보면 키보드 액션에 특정 이벤트를 주고 싶은 때가 있습니다.
키보드의 다음 버튼을 누르면 키보드가 사라지면서 다음 화면으로 넘어간다던지
키보드의 검색 버튼을 누르면 무언가를 검색할 수 있도록 한다던지 등입니다.
이런 경우에 사용할 수 있는 안드로이드 API가 있습니다.
OnEditorActoinListener 가 그것입니다.
OnEditorActionListener는 네 가지 단계에 걸쳐 프로젝트에 적용할 수 있습니다.
1. 해당 클래스에 OnEditorActionListener 인터페이스를 implement한다(OnEditorActionListener를 import한다).
2. onEditorAction() 메소드를 오버라이드한다.
3. onEditorAction() 메소드 내에 조건을 주고, 원하는 이벤트를 작성한다.
4. EditText 위젯에 setOnEditorActionListener()를 연결시켜준다.
검색버튼이 따로 없어도 글씨를 작성하면 키보드에 검색버튼이 보이게 구현하는 예제를 실행해 보겠습니다.
아래의 포스팅에 코드를 포스팅 해 놓았습니다.
OnEditorActionListener를 import하는 부분도 들어가 있으니 상단코드에서 어떻게 import 해야하는지도 확인하세요!
https://stickode.com/detail.html?no=2520
스틱코드
stickode.com
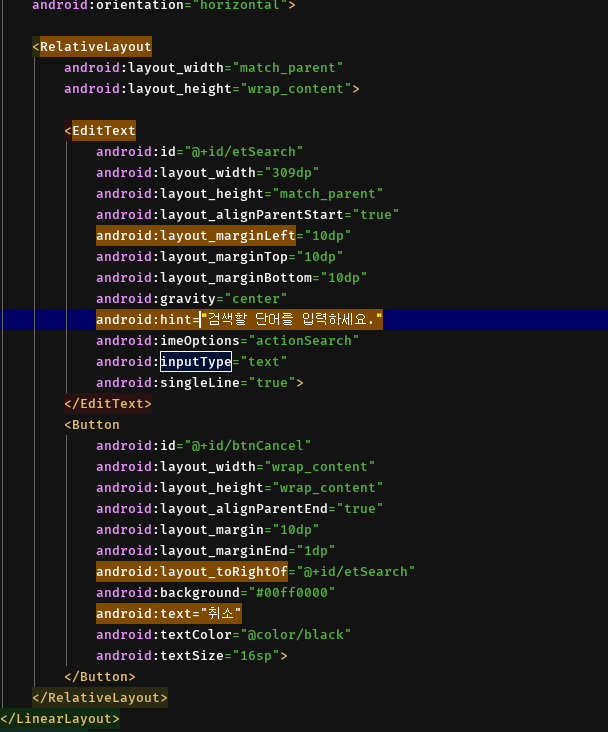
먼저 xml에 EditText을 구현해 줍니다.

<?xml version="1.0" encoding="utf-8"?>
<LinearLayout xmlns:android="http://schemas.android.com/apk/res/android"
    xmlns:app="http://schemas.android.com/apk/res-auto"
    xmlns:tools="http://schemas.android.com/tools"
    android:layout_width="match_parent"
    android:layout_height="match_parent"
    android:orientation="vertical">

    <LinearLayout
        android:layout_width="match_parent"
        android:layout_height="70dp"
        android:layout_gravity="top"
        android:orientation="horizontal">

        <RelativeLayout
            android:layout_width="match_parent"
            android:layout_height="wrap_content">

            <EditText
                android:id="@+id/etSearch"
                android:layout_width="309dp"
                android:layout_height="match_parent"
                android:layout_alignParentStart="true"
                android:layout_marginLeft="10dp"
                android:layout_marginTop="10dp"
                android:layout_marginBottom="10dp"
                android:gravity="center"
                android:hint="검색할 단어를 입력하세요."
                android:imeOptions="actionSearch"
                android:inputType="text"
                android:singleLine="true">
            </EditText>
            <Button
                android:id="@+id/btnCancel"
                android:layout_width="wrap_content"
                android:layout_height="wrap_content"
                android:layout_alignParentEnd="true"
                android:layout_margin="10dp"
                android:layout_marginEnd="1dp"
                android:layout_toRightOf="@+id/etSearch"
                android:background="#00ff0000"
                android:text="취소"
                android:textColor="@color/black"
                android:textSize="16sp">
            </Button>
        </RelativeLayout>
    </LinearLayout>
</LinearLayout>
import androidx.appcompat.app.AppCompatActivity;


import android.os.Bundle;
import android.view.KeyEvent;
import android.widget.EditText;
import android.widget.TextView;
import android.widget.Toast;

import static android.view.inputmethod.EditorInfo.IME_ACTION_SEARCH;

public class MainActivity extends AppCompatActivity {

    @Override
    protected void onCreate(Bundle savedInstanceState) {
        super.onCreate(savedInstanceState);
        setContentView(R.layout.activity_main);

        EditText etSearch = findViewById(R.id.etSearch);
        etSearch.setOnEditorActionListener(new TextView.OnEditorActionListener() {
            @Override
            public boolean onEditorAction(TextView v, int actionId, KeyEvent event) {
                switch (actionId)
                {
                    case IME_ACTION_SEARCH :
                        Toast.makeText(MainActivity.this, "editText ACTION_SEARCH 이벤트 호출", Toast.LENGTH_SHORT).show();
                        // 검색버튼이 눌리면 실행할 내용 구현하기
                        break;
                }
                return true;
            }
        });


    }
}
결과

위와 같이 키보드에 검색버튼이 나온것을 볼 수 있습니다.
'안드로이드 자바' 카테고리의 다른 글
| [JAVA][Android] Option Menu 만들기 (0) | 2021.10.15 |
|---|---|
| [JAVA][Android] Loding 프로그레스바 만들기 (0) | 2021.10.14 |
| [JAVA][Android] Logger 라이브러리 사용하기 (0) | 2021.10.13 |
| [JAVA][Android] 안드로이드 LocalDateTime 사용법 2 (비교, 기간 구하기) (0) | 2021.10.12 |
| [JAVA][Android] MVP 패턴 익혀보기 (0) | 2021.10.10 |


