728x90
안녕하세요
오늘은 게시물 목록 화면을 만들어보도록 하겠습니다.
일단 게시판 화면부터 만들어보도록 하겠습니다.
index.php
<!doctype html>

<head>
    <meta charset="UTF-8">
    <title>게시판</title>
    <style>
        #boardContainer {
            display: flex;
            flex-direction: column;
        }

        h1,
        td {
            text-align: center;
        }

        tr>*:nth-child(1) {
            width: 2rem;
        }

        tr>*:nth-child(2) {
            width: 8rem;
        }

        tr>*:nth-child(3) {
            width: 4rem;
        }

        button {
            width: fit-content;
            margin-left: auto;
            margin-top: 1rem;
            margin-bottom: 1rem;
        }
    </style>
</head>


<body>

    <div id="boardContainer">
        <h1>게시판</h1>
        <button>글쓰기</button>
        <table>
            <thead>
                <tr>
                    <th>번호</th>
                    <th>제목</th>
                    <th>글쓴이</th>
                </tr>
            </thead>
            <tbody id="tableBody">
                <tr>
                    <td>1</td>
                    <td><a href="">제목입니다.</a></td>
                    <td>글쓴이입니다.</td>
                </tr>
            </tbody>
            <?php  ?>
        </table>

    </div>


</body>

</html>
작성 후 브라우저에서 해당 파일을 열어보시면 이런 창이 보이실 거예요.

이제 DB 에 들어가서 테이블을 만들고 임시 데이터를 넣어보도록 하겠습니다.
저는 DB 접속툴로 HeidiSQL 을 사용하도록 하겠습니다.
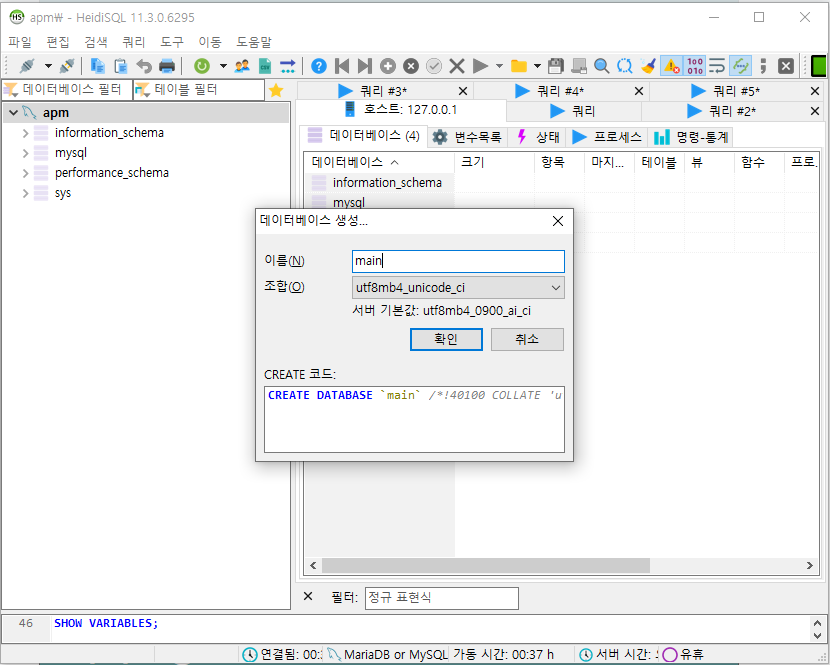
먼저 DB를 하나 생성해주세요.


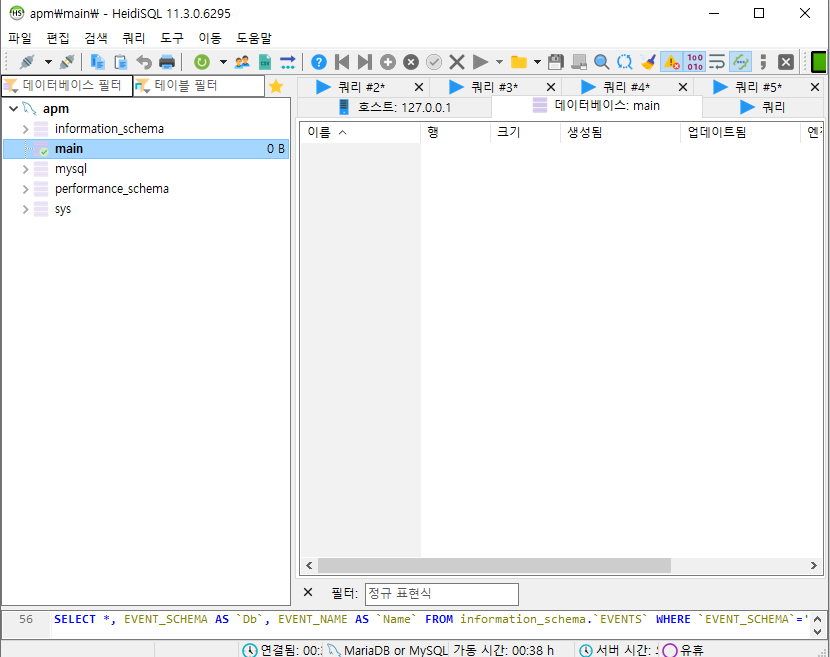
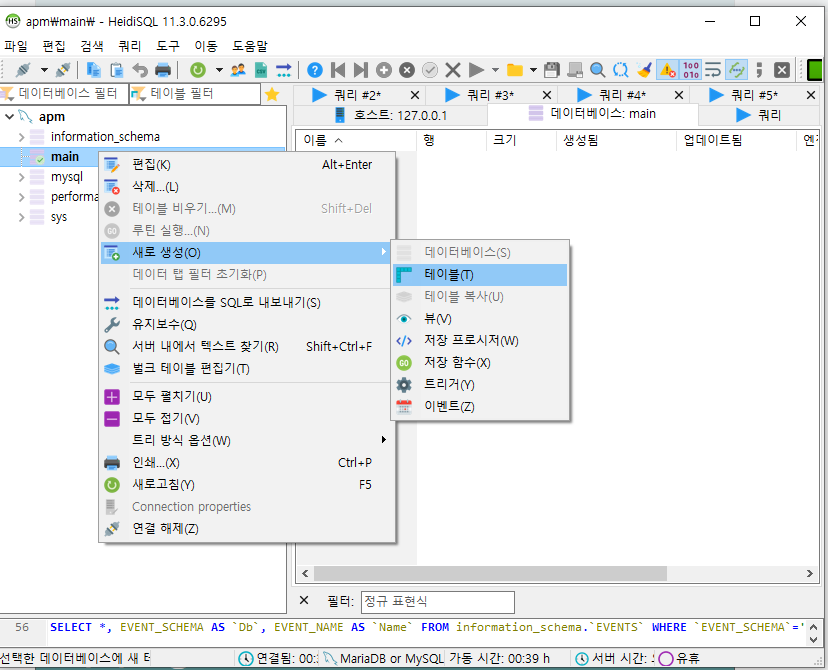
다음으로 테이블을 하나 생성해주세요.

id 칼럼을 하나 추가해주세요. 인덱스도 연결해주세요.


기본 값으로 auto_increment 가 적용되게 만들어주세요.

제목과 닉네임 칼럼을 생성해주세요.

잘 따라하셨으면 create 코드에서 이렇게 보이실 거예요.
잘 따라하셨으면 저장 버튼을 눌러주세요.

다음으로 임시테이터를 추가해보도록 하겠습니다.
데이터 탭에 들어가주세요.

우클릭하시고 행삽입을 클릭해주세요.
그리고 title 과 nickname 을 입력해주시고 enter 를 눌러주시면 id는 자동으로 생성됩니다.


임시 데이터도 추가했으니 다시 php 로 돌아가서 데이터를 불러오도록 하겠습니다.
index.php
<!doctype html>

<head>
    <meta charset="UTF-8">
    <title>게시판</title>
    <style>
    #boardContainer {
        display: flex;
        flex-direction: column;
    }

    h1,
    td {
        text-align: center;
    }

    tr>*:nth-child(1) {
        width: 2rem;
    }

    tr>*:nth-child(2) {
        width: 8rem;
    }

    tr>*:nth-child(3) {
        width: 4rem;
    }

    button {
        width: fit-content;
        margin-left: auto;
        margin-top: 1rem;
        margin-bottom: 1rem;
    }
    </style>
</head>


<body>

    <div id="boardContainer">
        <h1>게시판</h1>
        <button>글쓰기</button>
        <table>
            <thead>
                <tr>
                    <th>번호</th>
                    <th>제목</th>
                    <th>글쓴이</th>
                </tr>
            </thead>
            <tbody id="tableBody">
            </tbody>
        </table>

    </div>

    <?php

    // mysqli_connect 인자값 ( DB 접속 주소, DB 접속 유저명, 유저 비밀번호, 디비명 )
    $conn = mysqli_connect("localhost", "root", "1234", "main");

    // "board" 테이블의 모든 값을 요청
    $query = "select * from board";

    $result = mysqli_query($conn, $query);

    while ($row = mysqli_fetch_assoc($result)) {
        $boardDatas[] = $row;
    }

    mysqli_close($conn);
    ?>

    <script>
    const boardDatas = <?php echo json_encode($boardDatas) ?>

    console.log(boardDatas);


    const tablebodyElement = document.getElementById('tableBody');

    const dataLenght = boardDatas.length;
    for (let i = 0; i < dataLenght; i++) {
        const itrData = boardDatas[i];

        const tr = document.createElement('tr');

        const idTd = document.createElement('td');
        idTd.innerHTML = itrData.id;
        tr.appendChild(idTd);

        const titleTd = document.createElement('td');
        titleTd.innerHTML = itrData.title;
        tr.appendChild(titleTd);

        const nicknameTd = document.createElement('td');
        nicknameTd.innerHTML = itrData.nickname;
        tr.appendChild(nicknameTd);

        tablebodyElement.appendChild(tr);
    }
    </script>

</body>

</html>
이전과 변경경 된 부분은 <tbody> 태그에 들어있던 <tr> 태그를 삭제했고, 밑에 php 코드로 db에 데이터를 가져온 다음 자바스크립트로 각 항목을 그려주었습니다.
결과 )

'PHP' 카테고리의 다른 글
| [PHP] 섬머노트(Summernote) 이미지, 영상 등록 (0) | 2022.05.26 |
|---|---|
| [PHP] 섬머노트(Summernote) 사용해서 게시글 작성하기 (0) | 2022.05.24 |
| [PHP] 확장자 없는 파일명 추출하기 (0) | 2022.04.04 |
| [PHP] 정규식으로 파일 확장자 추출하기 (0) | 2022.03.23 |
| [PHP] Curl 을 이용해 웹페이지 소스 사용하기 (0) | 2021.12.28 |


