이번 포스팅에선 Service를 사용해 음악을 재생하는 앱을 만들 예정입니다.
핸드폰에 기본으로 설치되어 있는 음악 재생 앱이나 멜론, 지니 등의 앱을 실행해 음악을 재생시키면 홈 버튼을 눌러 다른 작업을 해도 음악이 중간에 멈추는 일 없이 계속 재생되는 걸 보셨을 겁니다.
이렇게 백그라운드에서 계속 동작하는 컴포넌트가 바로 Service입니다.
아래 예제 코드는 스틱코드 포스팅에서도 확인해보실 수 있습니다.
stickode.com/detail.html?no=1884
스틱코드
stickode.com
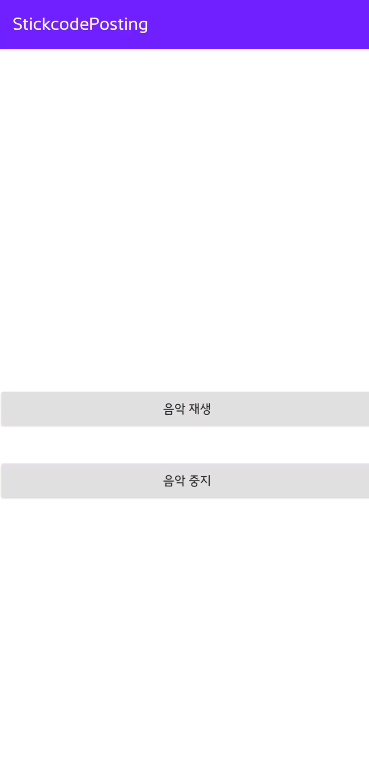
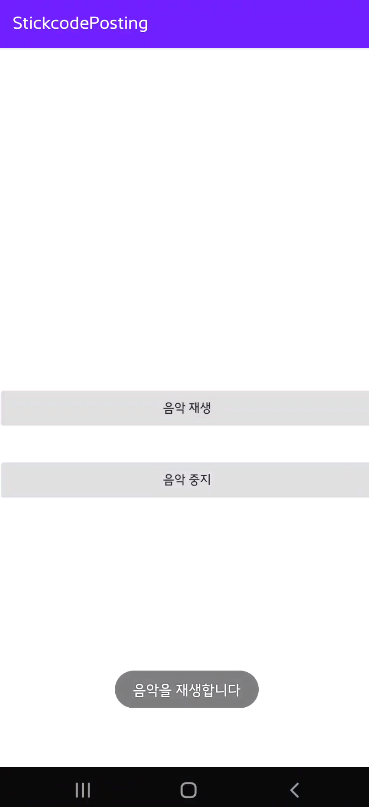
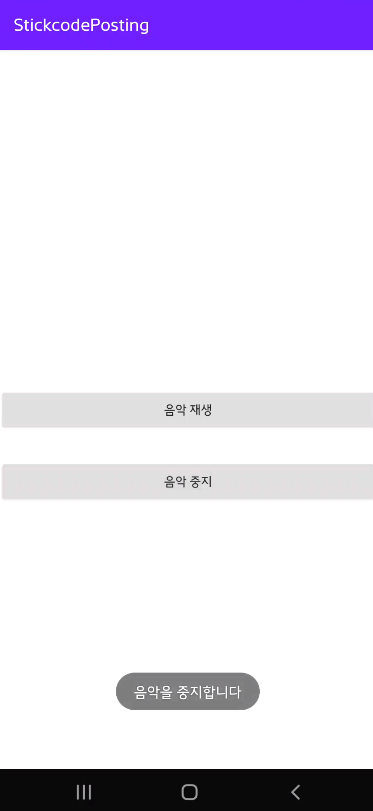
먼저 이 포스팅을 통해 만들 화면입니다. 음악 재생과 중지가 목적이기 때문에 버튼 2개만 배치한 간단한 화면입니다.
아래는 위 화면을 만드는 데 사용된 MainActivity의 XML 파일 코드입니다.
<?xml version="1.0" encoding="utf-8"?>
<androidx.constraintlayout.widget.ConstraintLayout xmlns:android="http://schemas.android.com/apk/res/android"
    xmlns:app="http://schemas.android.com/apk/res-auto"
    xmlns:tools="http://schemas.android.com/tools"
    android:layout_width="match_parent"
    android:layout_height="match_parent"
    tools:context=".MainActivity">

    <Button
        android:id="@+id/play_btn"
        android:layout_width="match_parent"
        android:layout_height="wrap_content"
        android:text="음악 재생"
        app:layout_constraintStart_toStartOf="parent"
        app:layout_constraintEnd_toEndOf="parent"
        app:layout_constraintTop_toTopOf="parent"
        app:layout_constraintBottom_toBottomOf="parent"/>

    <Button
        android:id="@+id/stop_btn"
        android:layout_width="match_parent"
        android:layout_height="wrap_content"
        android:text="음악 중지"
        android:layout_marginTop="30dp"
        app:layout_constraintStart_toStartOf="parent"
        app:layout_constraintEnd_toEndOf="parent"
        app:layout_constraintTop_toBottomOf="@id/play_btn"/>

</androidx.constraintlayout.widget.ConstraintLayout>
다음으로 위 화면에 맞춰 자바 파일을 작성합니다.
import androidx.appcompat.app.AppCompatActivity;

import android.content.Intent;
import android.os.Bundle;
import android.util.Log;
import android.view.View;
import android.widget.Button;

public class MainActivity extends AppCompatActivity
{
    Button play_btn, stop_btn;

    @Override
    protected void onCreate(Bundle savedInstanceState)
    {
        super.onCreate(savedInstanceState);
        setContentView(R.layout.activity_main);

        play_btn = findViewById(R.id.play_btn);
        stop_btn = findViewById(R.id.stop_btn);

        // 음악 재생 버튼을 누르면 raw 폴더에 저장된 음악을 재생시킵니다
        play_btn.setOnClickListener(new View.OnClickListener()
        {
            @Override
            public void onClick(View v)
            {
                Intent intent = new Intent(MainActivity.this, MusicService.class);
                startService(intent);
                Toast.makeText(MainActivity.this, "음악을 재생합니다", Toast.LENGTH_SHORT).show();
                Log.e("메인 액티비티", "startService() 호출");
            }
        });

        // 음악 중지 버튼을 누르면 현재 재생 중인 음악을 정지시킵니다
        stop_btn.setOnClickListener(new View.OnClickListener()
        {
            @Override
            public void onClick(View v)
            {
                Intent intent = new Intent(MainActivity.this, MusicService.class);
                stopService(intent);
                Toast.makeText(MainActivity.this, "음악을 중지합니다", Toast.LENGTH_SHORT).show();
                Log.e("메인 액티비티", "stopService() 호출");
           }
        });
    }
}
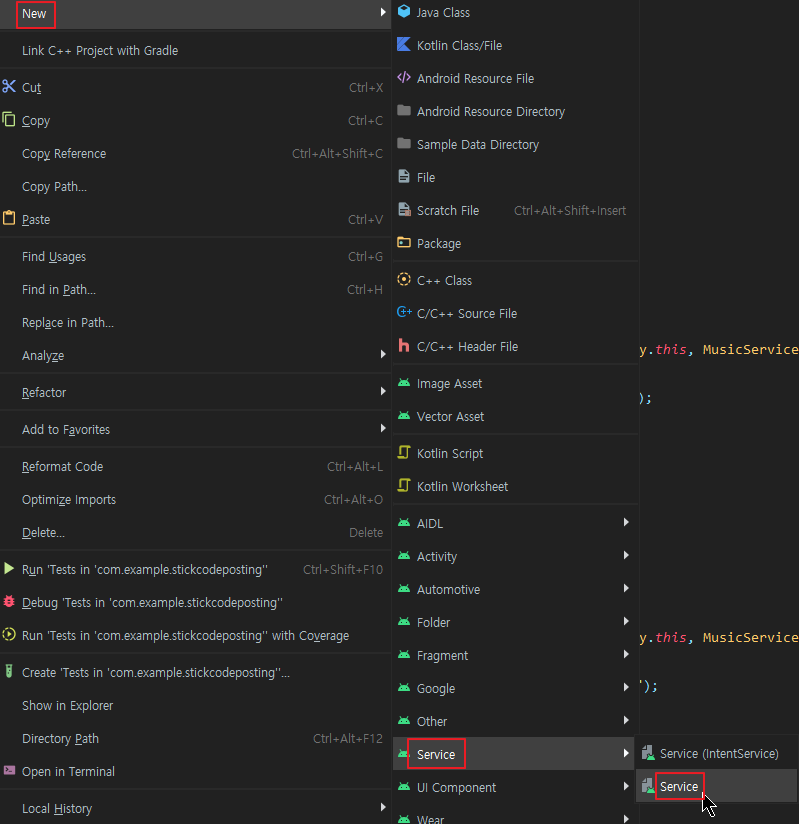
마지막으로 서비스 파일을 만들어야 합니다.
서비스 파일을 만드는 방법은 아래와 같이 서비스 파일을 저장할 디렉토리 우클릭 > Service > Service를 누르면 됩니다.
그럼 아래와 같이 이름을 입력하고 2개의 체크박스와 사용 언어를 정할 수 있는 화면이 나옵니다.
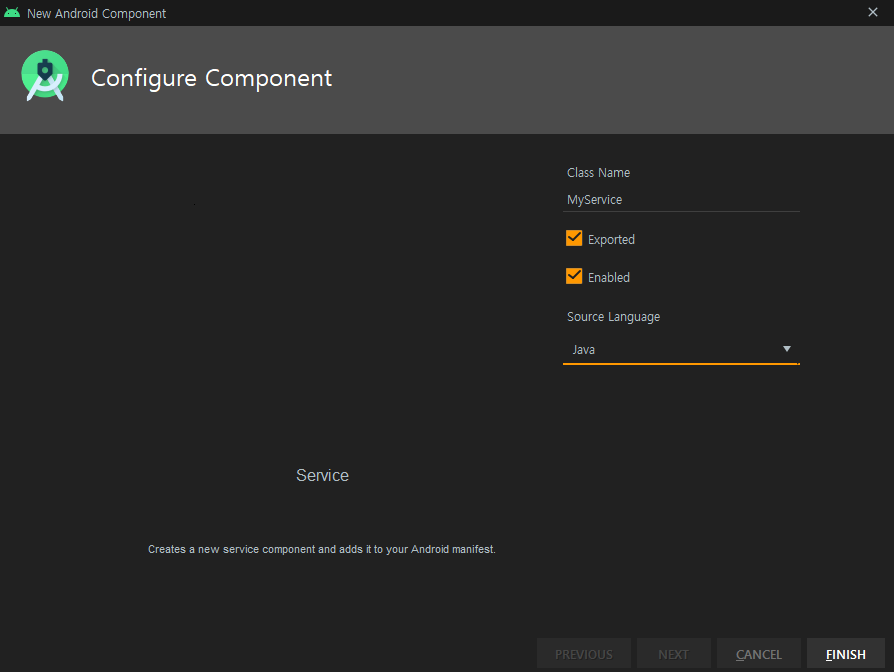
Exported와 Enabled라는 체크박스들이 눈에 띕니다.
Exported를 체크하면 내 앱에서만 서비스를 실행하겠다는 의미입니다. false인 경우에는 다른 앱에서 이 서비스를 실행할 수 없습니다.
그리고 Enabled는 시스템에 의해서 객체화시킬 수 있는지를 설정하는 옵션입니다.
체크했을 경우 시스템에 의해서 서비스가 시작되도록 할 수 있습니다.
이 포스팅에선 Enabled만을 체크한 후 서비스를 만들겠습니다.
자세한 설명은 안드로이드 디벨로퍼를 참고하시기 바랍니다.
developer.android.com/guide/topics/manifest/service-element?hl=ko
| Android 개발자 | Android Developers
Declares a service (a Service subclass) as one of the application's components. Unlike activities, services lack a visual user interface. They're used to implement long-running background operations or a rich communications API that can be called…
developer.android.com
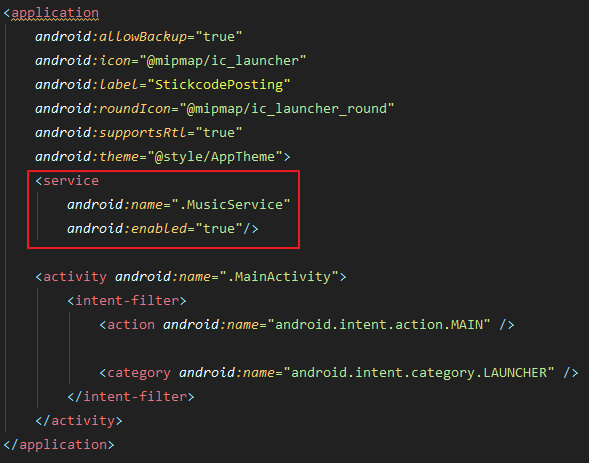
서비스를 만들었다면 매니페스트에 꼭 등록해야 합니다.
아래와 같이 <application> 태그 안에 Service 태그를 넣어줍니다.
매니페스트 등록까지 모두 마쳤다면 이제 서비스 파일을 작성해보겠습니다.
이 때 빨리 작성하고 싶다면 스틱코드에 저장해둔 서비스 코드를 가져와서 사용하면 됩니다.

완성된 서비스 파일의 구조는 아래와 같습니다.
import android.app.Service;
import android.content.Intent;
import android.media.MediaPlayer;
import android.os.IBinder;
import android.util.Log;

public class MusicService extends Service
{
    private MediaPlayer player;

    public MusicService()
    {
    }

    @Override
    public IBinder onBind(Intent intent)
    {
        return null;
    }

    @Override
    public void onCreate()
    {
        Log.e("음악 재생 서비스", "onCreate() 호출");
        super.onCreate();
    }

    //
    @Override
    public void onDestroy()
    {
        Log.e("음악 재생 서비스", "onDestroy() 호출");
        player.stop();
        super.onDestroy();
    }

    @Override
    public int onStartCommand(Intent intent, int flags, int startId)
    {
        Log.e("서비스 테스트", "onStartCommand() 호출");
        player = MediaPlayer.create(this, R.raw.music);
        player.setLooping(true);
        player.start();
        return super.onStartCommand(intent, flags, startId);
    }
}
완성 후 앱을 빌드하면 아래와 같이 작동합니다.
이렇게 스틱코드를 사용해서 음악을 재생하고 정지할 수 있는 앱을 빠르게 만들어 보았습니다.
'안드로이드 자바' 카테고리의 다른 글
| [Java][Android] 내 입맛대로 다이얼로그 커스텀하기 (0) | 2021.02.12 |
|---|---|
| [Java][Android] 안드로이드 - 토스트(Toast) (0) | 2021.02.11 |
| [Java][Android] 메모장 만들기(1. 메모 작성 및 저장) (2) | 2021.02.09 |
| [Java][Android] Timer, TimerTask를 이용해 타이머 빨리 만들기 (6) | 2021.02.08 |
| [Java][Android] 쉐어드프리퍼런스 회원가입 빠르게 만들기 (0) | 2021.02.07 |


