안녕하세요. 이번 시간에는 Dialog를 띄워보도록 하겠습니다. 우선 Dialog가 무엇인지 알아봅시다. 안드로이드 개발자라면 당연히 안드로이드 개발자 사이트에서 봐야겠지요?
developer.android.com/guide/topics/ui/dialogs
대화상자 | Android 개발자 | Android Developers
대화상자는 사용자에게 결정을 내리거나 추가 정보를 입력하라는 메시지를 표시하는 작은 창입니다. 대화상자는 화면을 가득 채우지 않으며 보통은 사용자가 다음으로 계속 진행하기 전에 조
developer.android.com
안드로이드 개발자 문서에서 설명하는 Dialog는 다음과 같습니다.
- A dialog is a small window that prompts the user to make a decision or enter additional information.
- A dialog does not fill the screen and is normally used for modal events that require users to take an action before they can proceed.
두 문장을 통해 생각을 해보면 사용자랑 상호작용 할 수 있는 즉 대화할 수 있는 작은 창이라고 볼 수 있습니다.
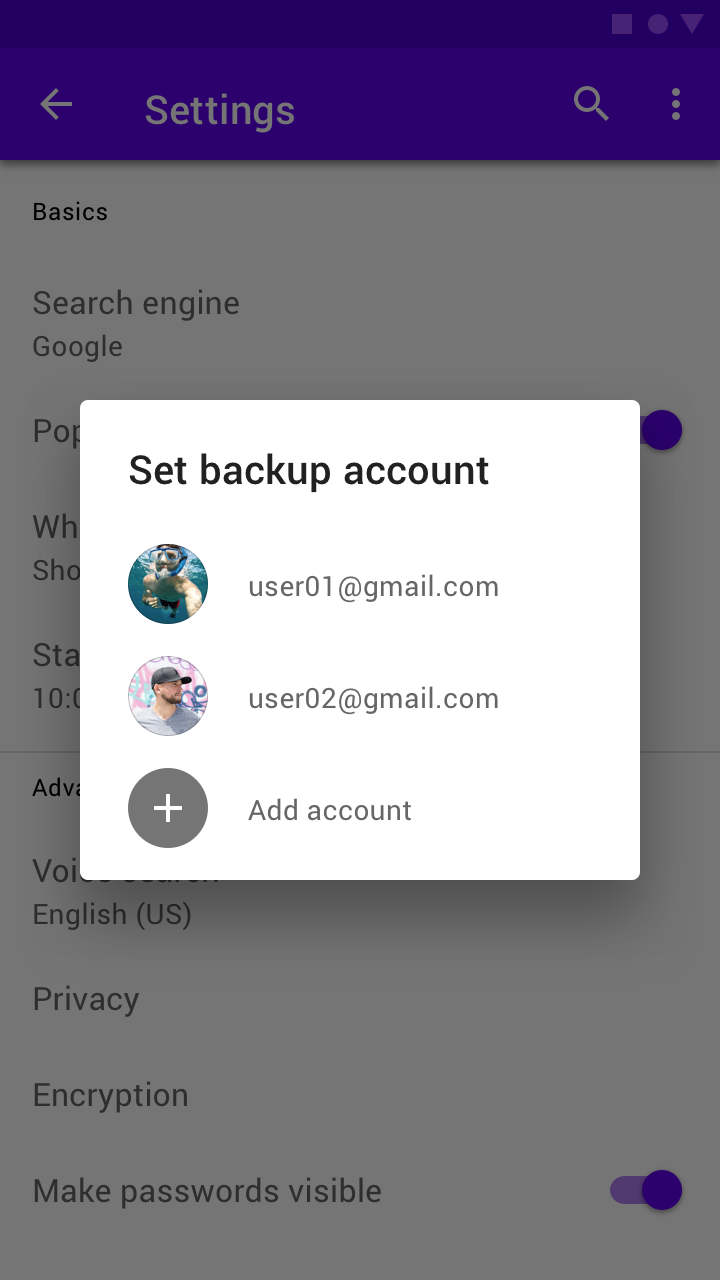
안드로이드에서 다이얼로그 종류로는 대표적으로 AlertDialog, DatePickerDialog, TimePickerDialog 등 있으며 커스텀 또한 가능하니 다양하게 사용될 수 있습니다.


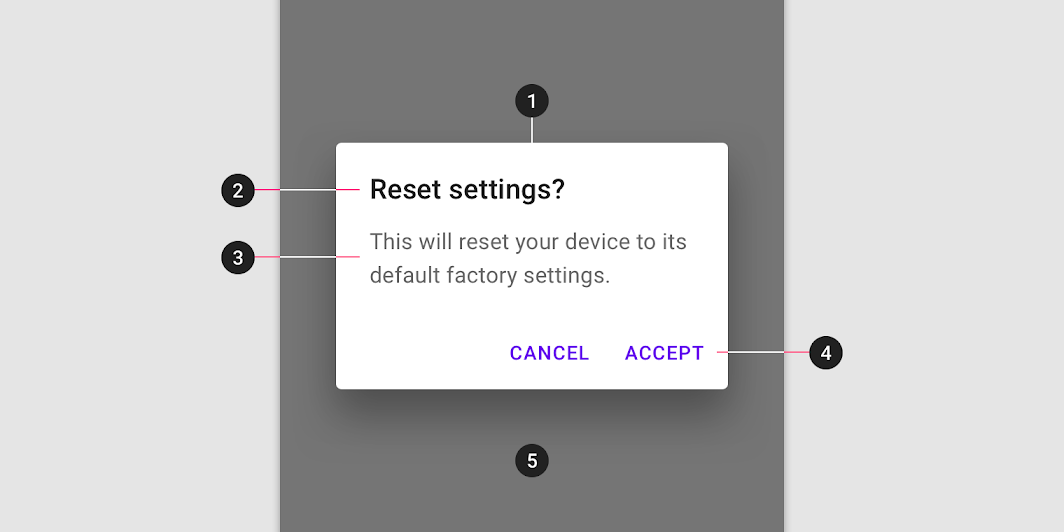
다이얼로그 구성을 살펴보면 아래와 같습니다.
이번 시간에는 간단한 alertDialog를 만들어 보도록 하겠습니다.
개발 순서는 아래와 같습니다.
1. xml 작성하기.
2. .kt 작성하기.
1. xml 작성하기.
Button 2개와 TextView를 준비해줍시다. Button 하나는 사용자에게 확인을 받는 기본 형태의 다이얼로그를 띄우게 하고 다른 하나는 리스트 형태로 사용자에게 선택을 받는 다이얼로그를 띄우도록 하겠습니다. TextView는 각 행동에 대한 결과를 띄워주도록 합시다.
<?xml version="1.0" encoding="utf-8"?>
<androidx.constraintlayout.widget.ConstraintLayout xmlns:android="http://schemas.android.com/apk/res/android"
    xmlns:app="http://schemas.android.com/apk/res-auto"
    xmlns:tools="http://schemas.android.com/tools"
    android:layout_width="match_parent"
    android:layout_height="match_parent"
    tools:context=".AlertDialogActivity">


    <TextView
        android:id="@+id/resultText"
        android:layout_width="wrap_content"
        android:layout_height="wrap_content"
        android:text="결과"
        android:textSize="30sp"
        app:layout_constraintBottom_toBottomOf="parent"
        app:layout_constraintEnd_toEndOf="parent"
        app:layout_constraintHorizontal_bias="0.498"
        app:layout_constraintStart_toStartOf="parent"
        app:layout_constraintTop_toTopOf="parent"
        app:layout_constraintVertical_bias="0.348" />

    <Button
        android:id="@+id/alertDialogButton"
        android:layout_width="wrap_content"
        android:layout_height="wrap_content"
        android:layout_marginBottom="80dp"
        android:text="Alert"
        app:layout_constraintBottom_toBottomOf="parent"
        app:layout_constraintEnd_toEndOf="parent"
        app:layout_constraintHorizontal_bias="0.272"
        app:layout_constraintStart_toStartOf="parent" />

    <Button
        android:id="@+id/listDialogButton"
        android:layout_width="wrap_content"
        android:layout_height="wrap_content"
        android:layout_marginBottom="80dp"
        android:text="List"
        app:layout_constraintBottom_toBottomOf="parent"
        app:layout_constraintEnd_toEndOf="parent"
        app:layout_constraintHorizontal_bias="0.724"
        app:layout_constraintStart_toStartOf="parent" />
</androidx.constraintlayout.widget.ConstraintLayout>

2. .kt 작성하기.
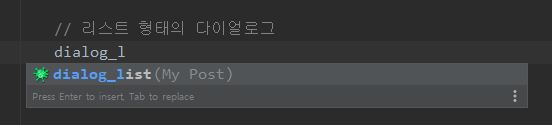
버튼클릭을 하게 되면 다이얼로그를 띄워주는 코드들입니다. Builder 클래스의 set메서드를 통해 다이얼로그의 특성들을 설정할 수 있습니다. 그리고 각 사용자의 행동에 따라 TextView가 달라지게끔 구현을 했습니다. 스틱코드를 이용하시면 좀 더 쉽게 구현이 가능하십니다.
stickode.com/detail.html?no=2112
스틱코드
stickode.com


전체 코드는 아래와 같습니다.
class AlertDialogActivity : AppCompatActivity() {
    // view
    private lateinit var resultText: TextView
    private lateinit var alertBtn: Button
    private lateinit var listBtn: Button

    override fun onCreate(savedInstanceState: Bundle?) {
        super.onCreate(savedInstanceState)
        setContentView(R.layout.activity_alert_dialog)

        // View inflate
        resultText = findViewById(R.id.resultText)
        alertBtn = findViewById(R.id.alertDialogButton)
        listBtn = findViewById(R.id.listDialogButton)

        // 기본 형태의 다이얼로그
        alertBtn.setOnClickListener {
            // 다이얼로그를 생성하기 위해 Builder 클래스 생성자를 이용해 줍니다.
            val builder = AlertDialog.Builder(this)
            builder.setTitle("타이틀 입니다.")
                .setMessage("메세지 내용 부분 입니다.")
                .setPositiveButton("확인",
                    DialogInterface.OnClickListener { dialog, id ->
                        resultText.text = "확인 클릭"
                    })
                .setNegativeButton("취소",
                    DialogInterface.OnClickListener { dialog, id ->
                        resultText.text = "취소 클릭"
                    })
            // 다이얼로그를 띄워주기
            builder.show()
        }

        // 리스트 형태의 다이얼로그
        var colorArray: Array<String> = arrayOf("빨강", "주황", "초록", "파랑") // 리스트에 들어갈 Array
        listBtn.setOnClickListener {
            val builder = AlertDialog.Builder(this)
            builder.setTitle("컬러 선택하기")
                .setItems(colorArray,
                    DialogInterface.OnClickListener { dialog, which ->
                        // 여기서 인자 'which'는 배열의 position을 나타냅니다.
                        resultText.text = colorArray[which]
                    })
            // 다이얼로그를 띄워주기
            builder.show()
        }
    }
}
결과
'안드로이드 코틀린' 카테고리의 다른 글
| [Kotlin][Android] 리사이클러뷰 빠르게 만들기 (0) | 2021.05.24 |
|---|---|
| [Kotlin][Android] 네비게이션 드로어(Navigation Drawer) 만들기 (4) | 2021.05.23 |
| [Kotlin][Android] 안드로이드 - 스낵바(snackbar) (0) | 2021.05.10 |
| [Kotlin][Android] 바텀 네비게이션바 만들기 (2) | 2021.05.09 |
| [Kotlin][Android] GPS Permission 현재 위치 값 불러오기 기능 (0) | 2021.05.07 |


