flutter
[flutter] FloatingActionButton 예제
teamnova
2023. 2. 4. 12:00
728x90
안녕하세요.
이번에는 FloaatingActionButton을 활용한 예제를 만들어보겠습니다.
import 'package:flutter/material.dart';

void main() {
  runApp(MyApp());
}

class MyApp extends StatelessWidget {
  @override
  Widget build(BuildContext context) {
    return MaterialApp(
      title: 'Flutter Demo',
      theme: ThemeData(
        primarySwatch: Colors.blue,
        visualDensity: VisualDensity.adaptivePlatformDensity,
      ),
      home: MyHomePage(title: 'FloatingActionButton',)
    );
  }
}

class MyHomePage extends StatefulWidget {
  MyHomePage({Key key, this.title}) : super(key: key);

  final String title;

  @override
  _MyHomePageState createState() => _MyHomePageState();
}

class _MyHomePageState extends State<MyHomePage> {
  int _counter = 0;
  void _incrementCounter() {
    setState(() {
      _counter++;
    });
  }
  void _decrementCounter() {
    setState(() {
      _counter--;
    });
  }
  @override
  Widget build(BuildContext context) {
    return Scaffold(
      appBar: AppBar(
        centerTitle: true,
        title: Text(widget.title),
      ),
      body: Center(
        child: Column(
          mainAxisAlignment: MainAxisAlignment.center,
          children: <Widget>[
            Text(
              'You have pushed the button this many times:',
            ),
            Text(
              '$_counter',
              style: Theme.of(context).textTheme.headline4,
            ),
            Row(
              mainAxisAlignment: MainAxisAlignment.center,
              children: <Widget>[
                FloatingActionButton(onPressed: _incrementCounter,child: Icon(Icons.plus_one),),
                SizedBox(width: 30,),
                FloatingActionButton(onPressed: _decrementCounter,child: Icon(Icons.exposure_minus_1),),
              ],
            )
          ],
        ),
      ),
    );
  }
}
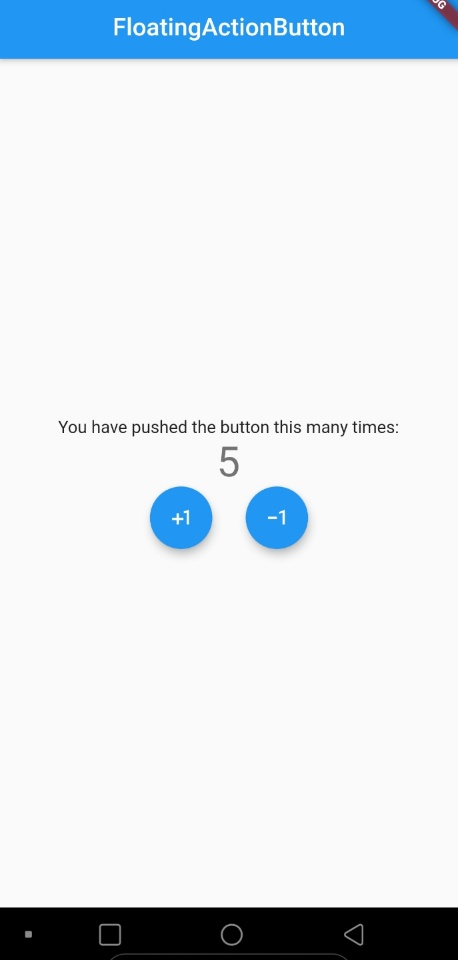
결과물은 다음과 같습니다.